
Advanced Registration & Sign-up Module (ARS)
The Advanced Registration & Sign-up Module (ARS) is a paid add-on module licensed on an annual basis. If you are interested, please contact our support team for pricing and activation.
Introduction
With Advanced Registration & Sign-up Module (ARS), it's easier to register new volunteers with a customizable registration. Manage forms, compliance forms, donation requests, success pages, etc.
The ARS is a very powerful module that allows you to add custom questions and workflows to the following user processes:
- Volunteer Registration (create a new volunteer account)
- Volunteer Sign-up (express interest or sign-up to a volunteer opportunity)
- Partner Registration (create a new partner/sharing-portal account)
With the ARS you can add custom questions using an interface similar to the Form Builder, add HTML content, ask for a donation, and add waiver-like checkboxes to each to the processes above. You can also create multi-step or multi-page "journeys" that with logical branching, that is, add conditions that use to user's answers to determine the next set of questions or pages.
If you think of each of these user processes having a start page, in the form of a registration page or an express interest (or sign up) page, and an end page such as a success/confirmation page, the ARS allows you to add and customize between these two pages and add new pages, forms, waivers, etc.

Here are some examples of what you can do with the ARS. You may want to:
- Ask a volunteer a different set of questions if they are over a certain age when they create an account.
- Require that the user accept a waiver before continuing
- Add a donation opportunity or an activation fee
- Ask for a volunteer's t-shirt size when signing for a volunteer opportunity
And you can combine these with branching logic. For example, you can ask a senior person a specific set of questions, as well as ask for a donation, in a workflow that might look something like this:

Combined with Salesforce's workflows and automation, you can build almost any user registration or sign-up journey you desire!
Prerequisites
The Advanced Registration & Sign-up Module (ARS) is an advanced module. You should be well versed in HandsOn Connect, Salesforce, and the HOC CMS, including the HOC Form Builder. General web skills, such as HTML will also come in handy.
This help article is not meant to be an exhaustive step-by-step guide on how to use the ARS. The ARS can be used in so many ways. It would make a very long document if we covered all it can do and all the cases. Instead, this article is meant to provide a starting point and let you explore its features. Plan to spend some time doing trial some trial and error, and testing and refining what you build.
Getting Started with the ARS
Once the ARS is activated on your HandsOn Connect (HOC) instance, start by watching the Connect University Advanced Registration System video:
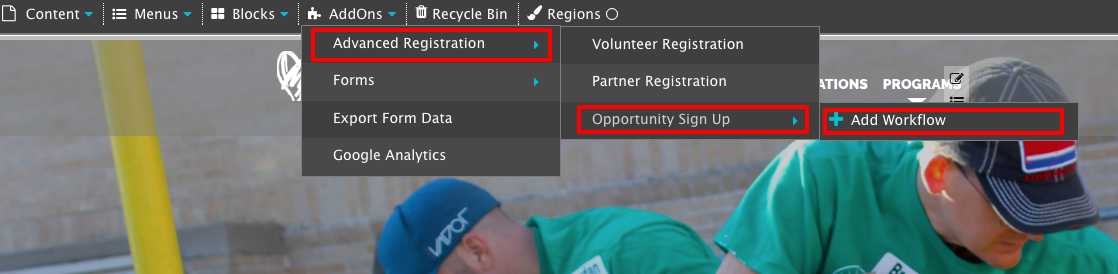
Once activated, the ARS will be accessible via the CMS top utility bar under the AddOns menu:

You will see that there are three user processes that for which you can customize using the ARS:
- Volunteer Registration
- Partner Registration
- Opportunity Sign Up
The first two, the registration processes, allow for one ARS workflow each. The last one, the Opportunity Sign Up, provides for multiple ARS workflows, since you can create different workflows which can be triggered for a specific Volunteer Event, Volunteer Opportunity or Occurrence.
To illustrate how to use the ARS, let's use an example.
Workflow Example: Volunteer Sign-up with a Donation
The case we will use as an example is that you want to request a donation when a volunteer signs-up for a specific opportunity. Note that this example requires that you have a donation integration set up with Click and Pledge (C&P) or Paypal (other payment processing providers may be available or added upon request).
These are the steps you would follow:
1) In the CMS, go to AddOns > Advanced Registration > Opportunity Sign Up > Add Workflow
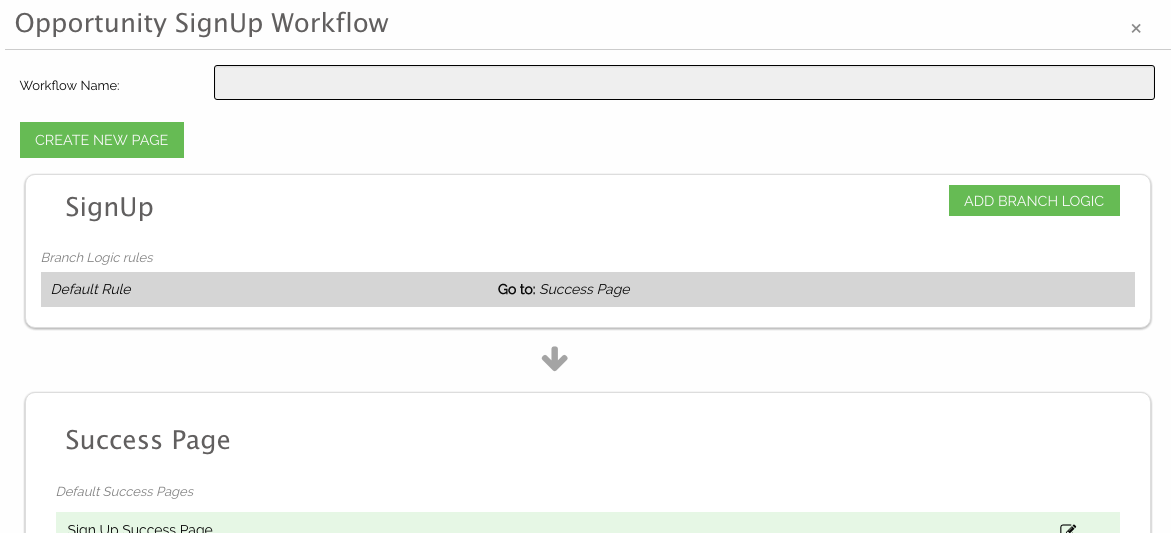
2) This will open the Opportunity Workflow screen:
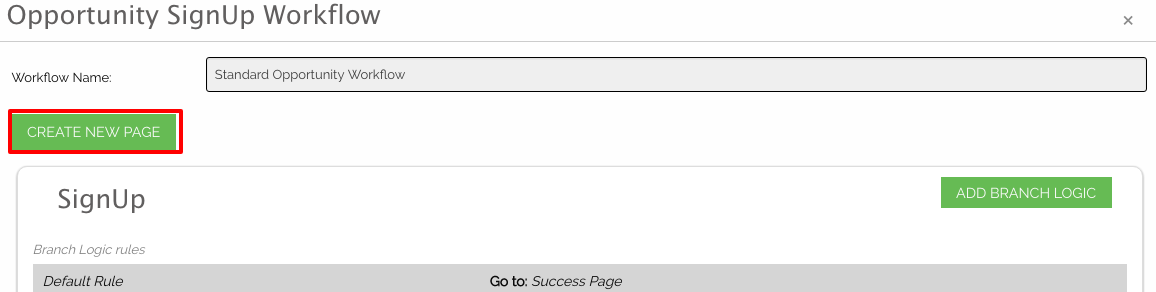
3) Give the workflow a name that will be unique (this is important). For this example, we are going to use “Standard Opportunity Workflow.”
4) Click on the “CREATE NEW PAGE” button:
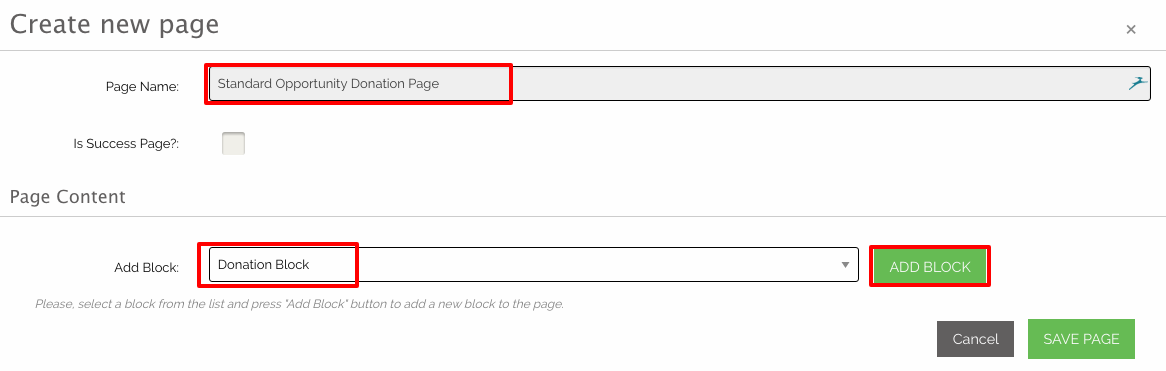
5) Give the new page a unique name. We are going to use “Standard Opportunity Donation Page,” under Page Content > Add Block select “Donation Block,” and then click on the “Add Block” button.
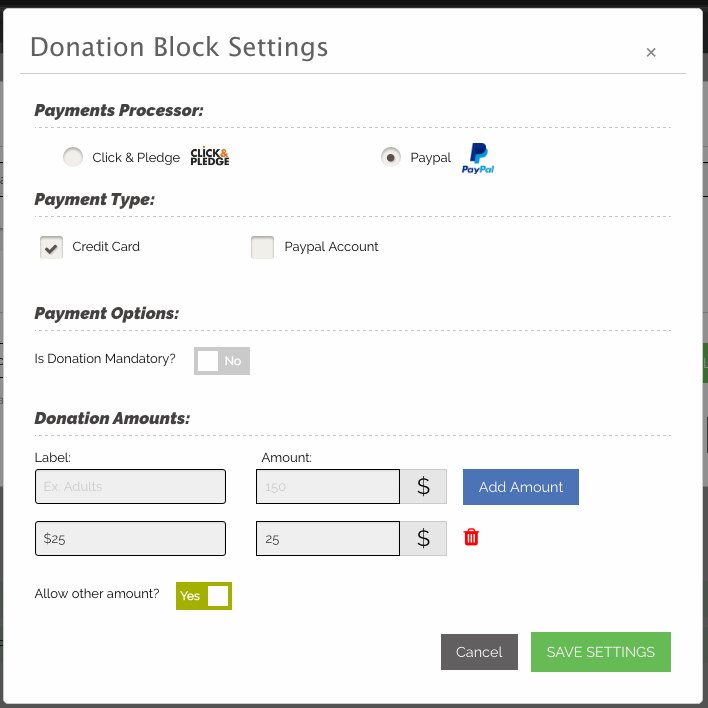
6) In Donation Block Settings select:
- Payment Processor: Click & Pledge or Paypal
- Payment Type: Credit Card and/or Check (with C&P) or Paypal Account (with PayPal)
- Is payment mandatory? (If selected, the user will need to pay the donation amount to signup for the opportunity)
- Donation Amounts: You must have at least one amount
- Allow other amount? Select if you want them to be able to enter a different amount
Remember to save your settings!
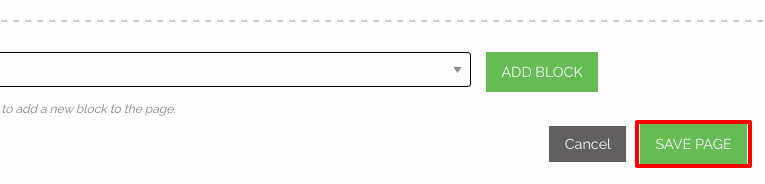
7) Save the page:
8) Set up the Branch Logic.
By default the first page in the workflow goes directly to the Success Page. Click on "Add Branch Logic" and define the next 'page' of your workflow that you wish to appear. In this case, we would select "Standard Opportunity Donation Page" in the 'Go to' picklist.
Then set the branch logic on the Donation page to go to the success page. (This tells the workflow which page to go to each step along the way.
(Advanced: You can also "Allow Conditions" and create conditional logic based on fields on pages that use "Form Blocks". For example, you could say, IF the value of a given picklist matches a certain value, go to one page, and if it matches something else, go to a different page).
Be sure to create branch logic for each page, whether you use conditions or not — as the branch logic tells the workflow which pages to present in which order!)
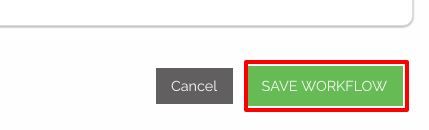
9) Save the Workflow
9) To associate this workflow with an opportunity, you need to remember the unique name you gave the workflow in step 3. In this example, we used “Standard Opportunity Workflow”. In Salesforce, go to your opportunity and enter this name in the field called “ARS Workflow to Display” and save your opportunity:
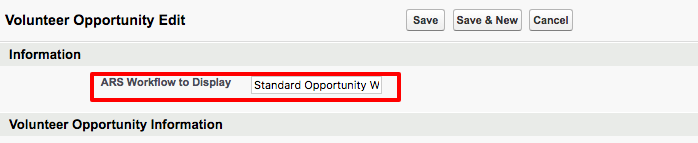
Remember to save your opportunity!
Note, if do not see the “ARS Workflow to Display” field it probably just had to be added to the page layout.
You can add this workflow to as many opportunities as you wish, as well as to Events and Occurrences.
Note: When testing your workflow - be aware that HandsOn Connect uses multiple servers. Sometimes you'll edit the workflow in one browser or tab — and then when you log into your site for testing purposes (in another browser or incognito window), you won't see the workflow immediately. It can take as much as an hour before all the servers for HOC are synched up with your latest changes.
Also Note: When adding the ARS workflow to an event, it may take overnight before the event is refreshed in the search server. To test the workflow as soon as possible, place the ARS Workflow name in the Volunteer Opportunity Record or the Occurrence record.
Additional Information
For information on the Unverified Parental Consent Module click here.
0 Comments
Add your comment